How do your hops roll? Bag, ball and commando – we’ve done them all! What does not work is thinking you can use your mash tin as a hop spider. So here are some top tips and suggestions to help you extract your hop loveliness.
Why contain your hops?
You get a cleaner wort, which can mean a better brew.
Preventshops from clogging up your brew kettle, pump and chiller.
Reduces risk of getting solids into your fermenter.
Makes clean-up much easier.
The downside
Reduced hop utilisation: you want your hops to circulate as freely as possible in the wort to be able to utilize the bitterness, flavour and aromas of the hops.
How to Catch your Hops
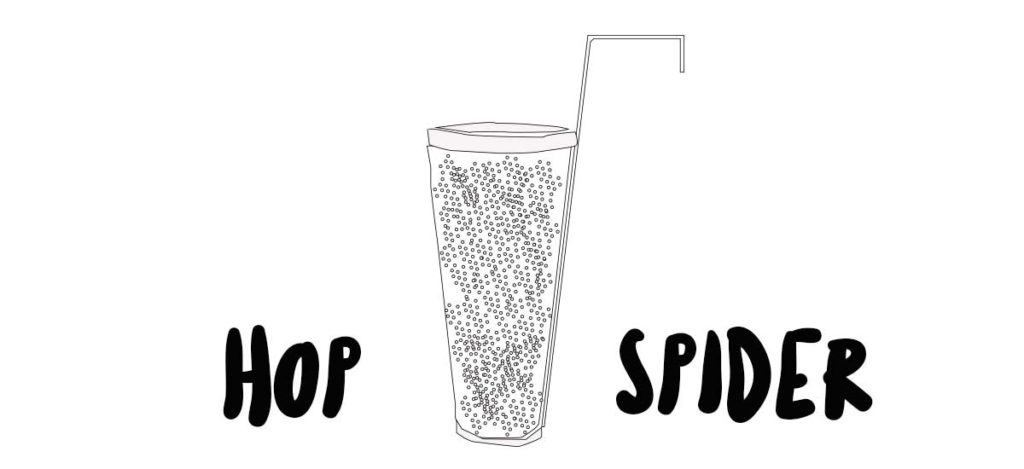
Hop Spiders
Stainless steel mesh cone or canister that hangs onto the rim of your brew kettle. Generally, they are made up of 300-400 micron holes.
Pros: Good size – allows decent circulation. Open topped so can be added to during boil. Cons: Because they hook onto the edge of your brew kettle you can’t put the lid on properly. Can also block up.
Hop Bags
These are nylon or muslin hop bags – with or without a drawstring – into which you put your hops. Tie up securely and plunge it into your wort, or suspend the bag from your vessel with a stainless steel kettle spider (find them online or make your own). Nylon hop bags can be washed and re-used.
Choose a fine mesh bag for pellet hops. If you’re using whole hops go for a medium mesh.
Pros: Hop bags can also be used for additions such as hops, wood chips, dried fruit, spices etc. Cons: if not properly tied they can spill open and allow your hops to cause mischief. You also need one hop bag per addition to allow for different timings.
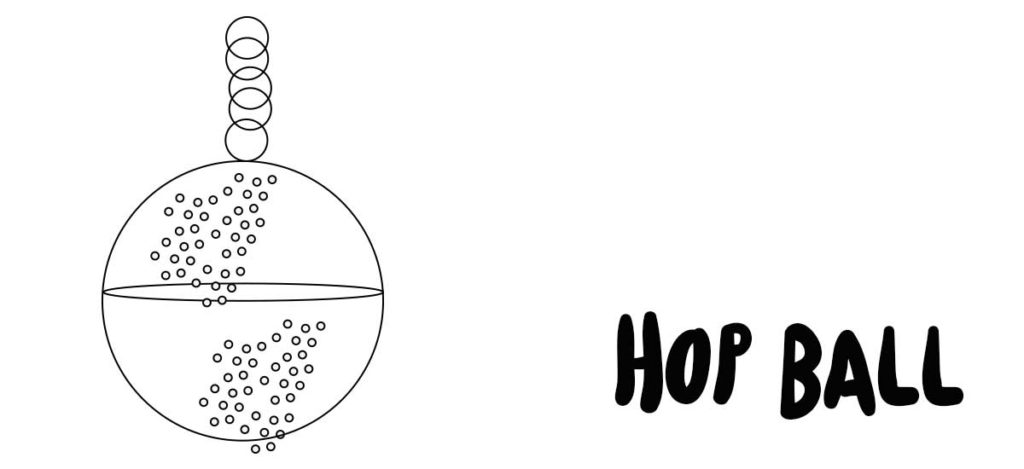
Stainless steel hop balls
Similar to a tea ball, a hop ball is made of perforated stainless steel. Open up, pop in your hops, close again and add to your brew.
Pros: Easy to fit in your brew kettle and can circulate with the boil.
Cons: Bit on the small side. You also need one hopball per addition to allow for different timings.
Hop Tube
Hang this stainless steel tube inside your keg or wide-mouthed fermenter for post fermentation additions.
Pros: Easy to add additions during primary and secondary fermentation.
Cos: Won’t fit all fermentation vessels.
Hop Capture Tips
Whichever method you go for, make sure you don’t overfill it to allow as much hop/wort circulation as possible. Remember that your hops will expand in size when wet!
When using a hop bag leave plenty of room at the top to tie it up properly.
Consider adding more hops to make up for reduced hop utilisation.
Make sure your hop bag doesn’t touch the bottom of the brew kettle. The bag will go all scorchio!
Agitate the hops a few times during the boil to ensure to promote hop utilisation.
Give you hop ball/bag/spider time to properly drain to extract all of your hoppy deliciousness.
Get the right size spider/ball/bag for your brewing vessel so that the hops are properly submerged in your wort while maintaining a safe distance from the bottom of the vessel.
Do you use anything to contain your hops?
We put the question to our Brew Crew.
“Having tried making, just yesterday, my first IPA I didn’t take into account the actual hop content of my brewing pot, this resulted in getting less clean wort into the demijohn that I use to ferment in. I tried to filter it through a hop sock on the way into the demijohn but that was rather slow goings. For my next IPA I will definitely try adding the hops into a sock or bag inside the kettle.
Normally, I don’t use that many hops so I don’t bother with bags in the brew and just settle for a whirlpool while it’s chilling, but I can see myself making more use of them in the future and will probably invest in a hop spider.” – Christopher Annandale
“I find dry hopping at 14 degrees and cold crashing prevents me getting any hop matter in my beers whilst transferring.” – Daniel Ennis
“A hop spider is on my shopping list for post-furlough spends, but in the meantime I have been straining my wort through my grain bag (used in the mash). Once fermentation is complete, I siphon the beer into my Dark Farm kegs and flip-top bottles through a 200 mesh sieve. This catches any particles and spent yeast that got through the grain bag when I get to the end of my batch.” – Robert Poulson
GET MORE FREE HOMEBREWING TIPS!
* Extract vs all grain homebrewing – discover which is right for you*
* Homebrewing equipment – the basics & the luxuries*
*How to read a homebrew recipe*
*10 steps to successful all grain homebrewing*
*3 easy homebrew recipes*
*Homebrewing tips from the pros*