
-
Sold out!
 Out of stock
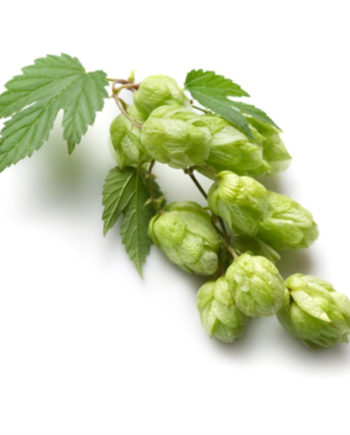
Cascade Hop (Rooted/Mature plant)
£25.00 Read more
-
Sold out!
 Out of stock
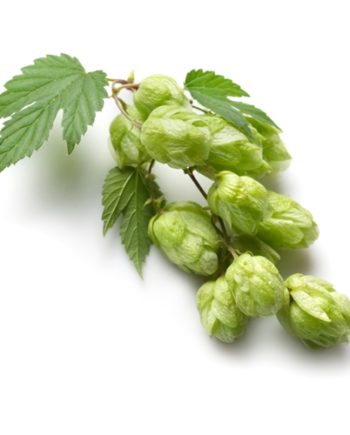
Chinook Hop Rhizome (Rooted/Mature plant)
£25.00 Read more
-
Sold out! Out of stock
Bramling Cross Hop (Rooted/Mature plant)
£25.00 Read more